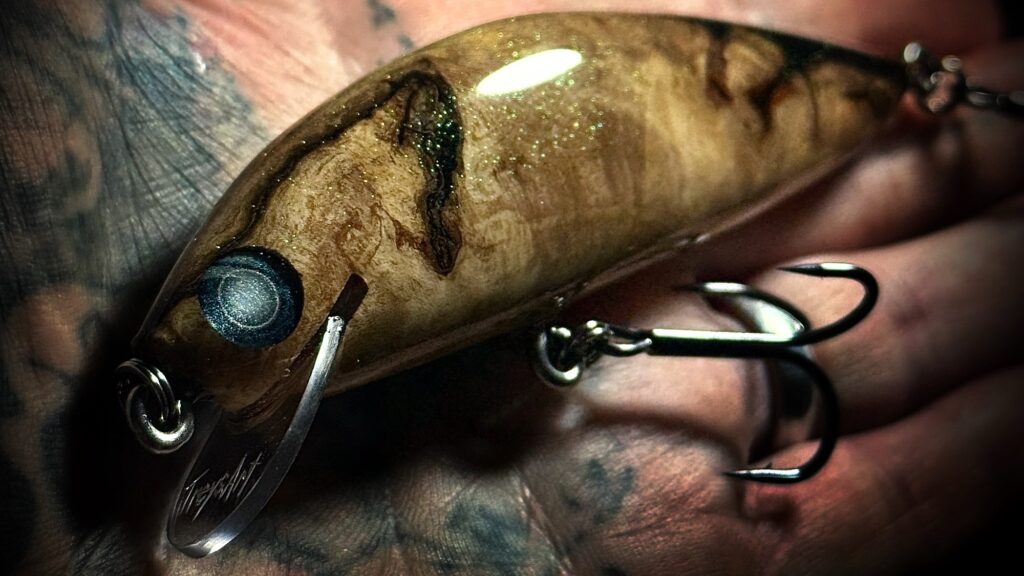
In this guide I’ll show you how I make a woodgrain fishing lure from start to finish.
Most people decide to paint their fishing lures which is smart because you can match the look of natural prey in the area your fishing.
But sometimes I just like to see the raw beauty of natural woodgrain on a lure. Like what I do for my “Deadwood Series” lures.
Affiliate Disclosure: This post contains affiliate links, which means I may earn a commission if you click through and make a purchase. This comes at no additional cost to you.
Picking the right Material
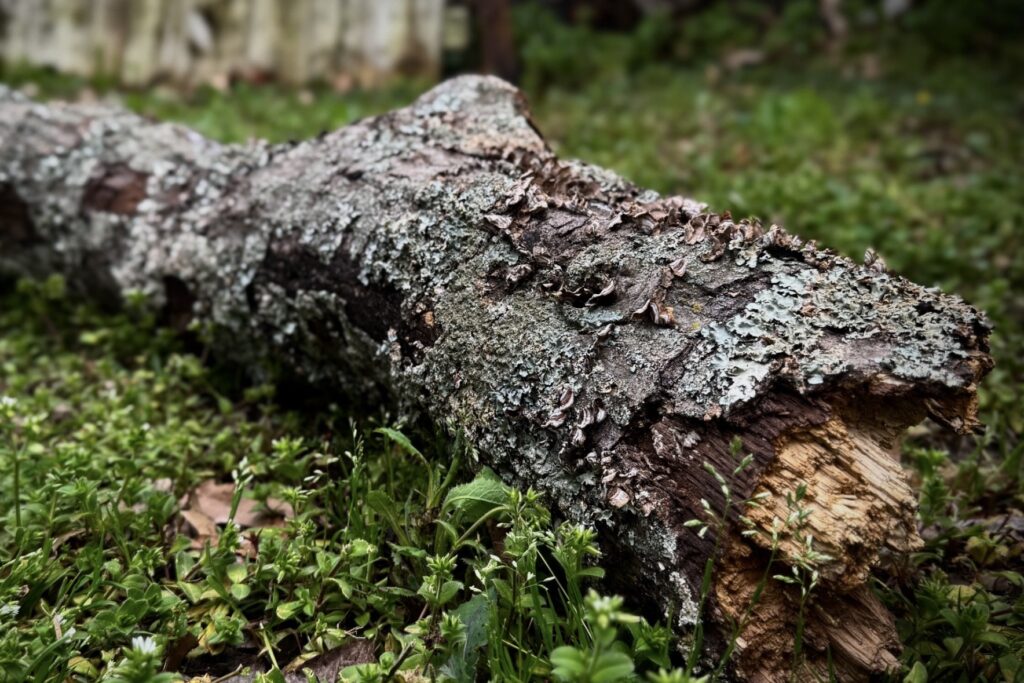
When searching the woods for natural deadfall wood you need to keep a few things in mind.
First you need to at least have an idea of the look of what you’re going for.
- What color wood do you want your lure to be?
- Do you want the wood to be spalted?
- Are you more worried about the look of the lure or the function?
These questions matter quite a bit because the coolest looking wood may not offer the best functionality as a finished lure.
A lot of the more interesting looking wood got that way through partially decomposing and therefore isn’t going to as strong of a material or it may have voids you have to fill which might make the lure less balanced.
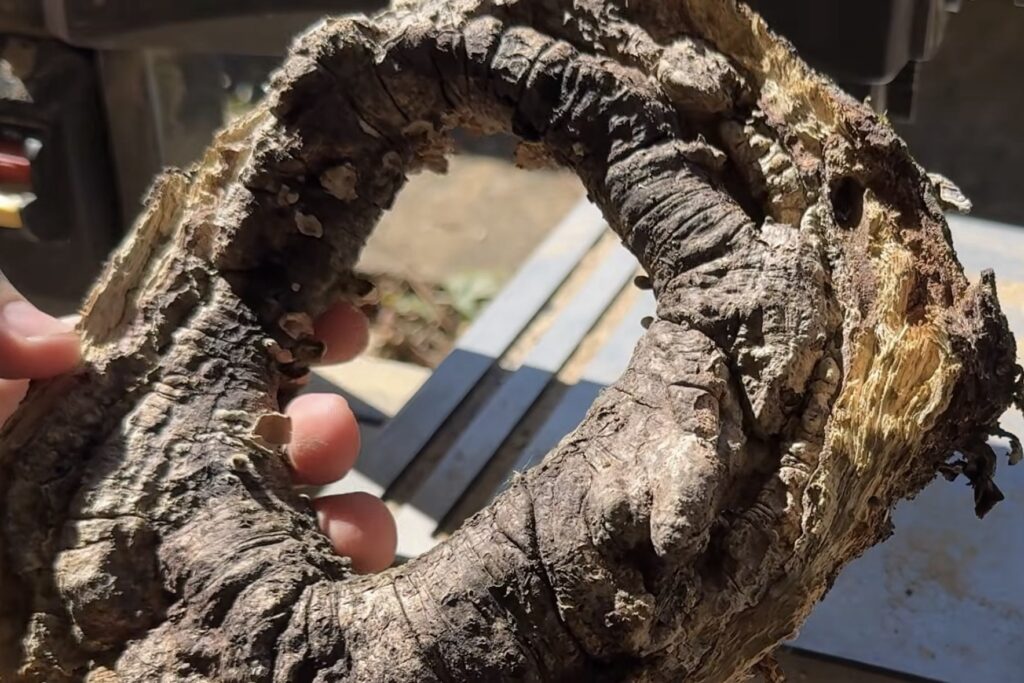
Either way, for this article I’m going to focus on this interesting piece of wood I found. It’s a branch collar from a fallen white oak. The reason I picked this piece up was pure curiosity to see what the woodgrain looked like.
What’s inside?
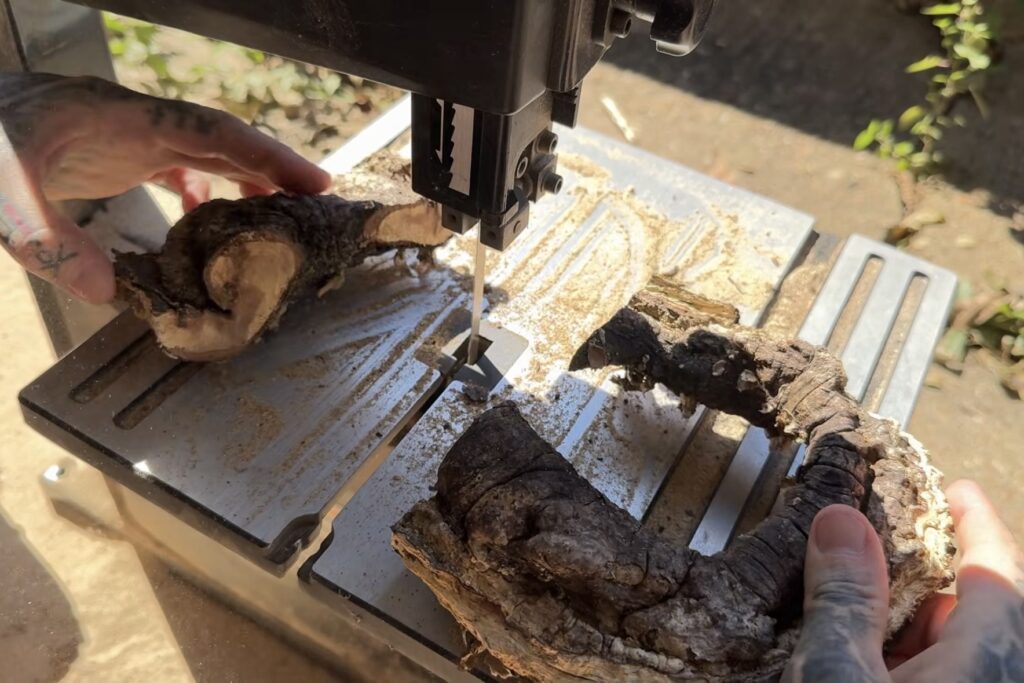
The first thing I do when I get home with some new wood is I let it dry out. Sometimes this may only take a few days or it could take a few months.
Kind of just depends on how wet it is and how big the piece of wood is.
After that, it’s time to see what’s inside and if I’m actually going to be able to use the wood for anything.
Basically all I do is look over the piece and determine which spot I can cut that looks like it might be hiding the most interesting grain while also giving me a big enough piece to shape a lure out of.
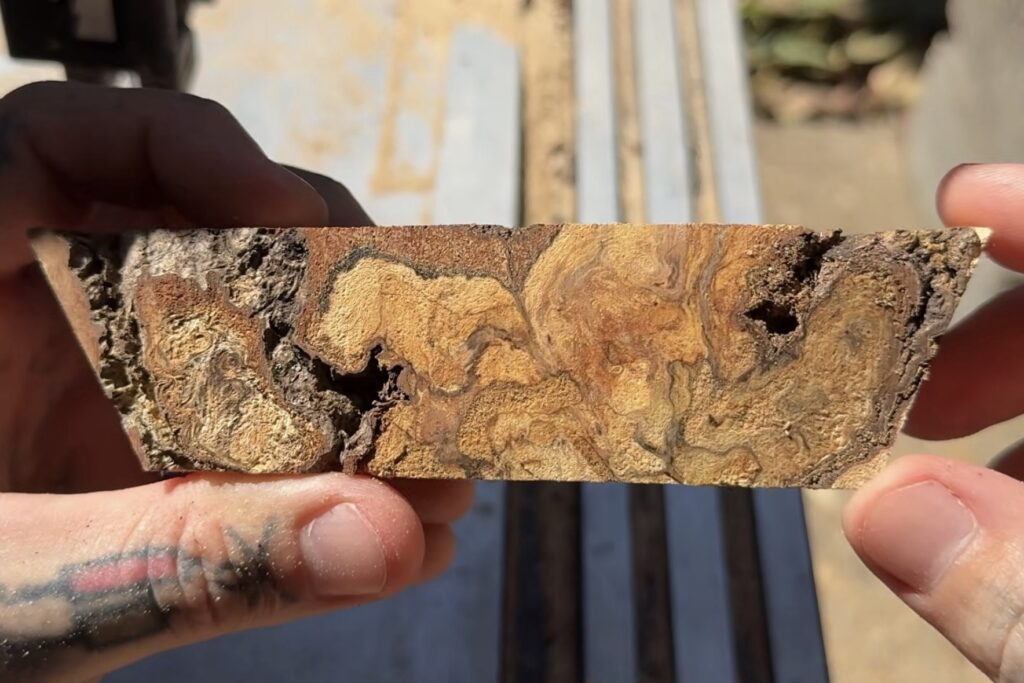
Draw on your Design
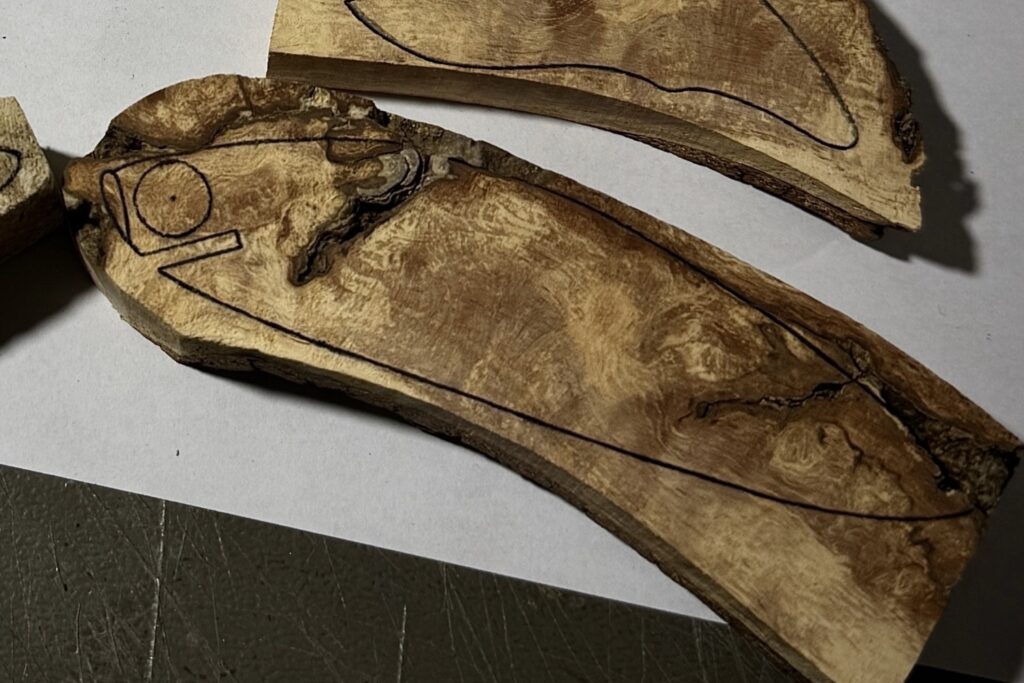
Now you’ve got to determine what type of lure will best suite the piece of wood you now have. For this one I went with a jerkbait type profile.
Cutting out the Profile
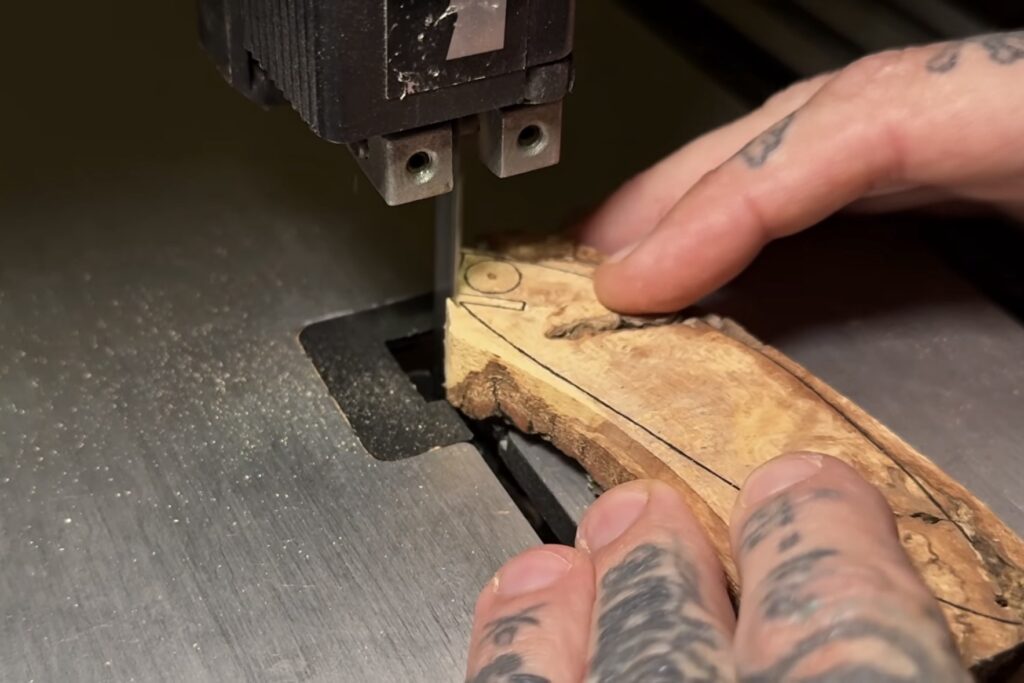
Back on the bandsaw I cut out the profile of the lure as well as the lip slot.
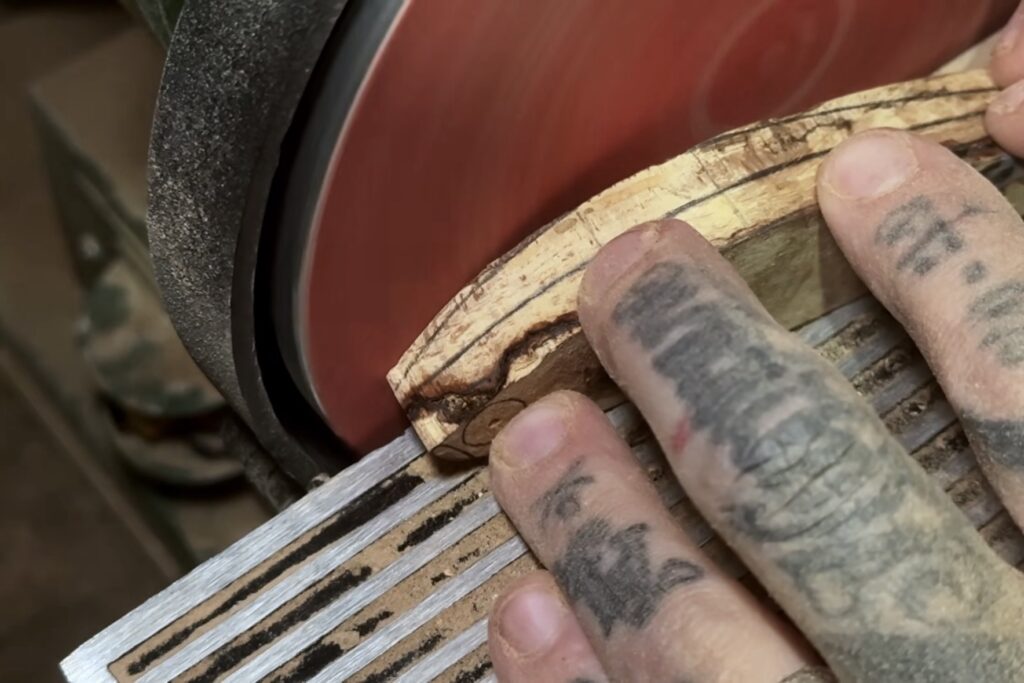
After drawing on my center line and top profile lines, I use a disk sander to remove material up to the profile lines.
Filling voids
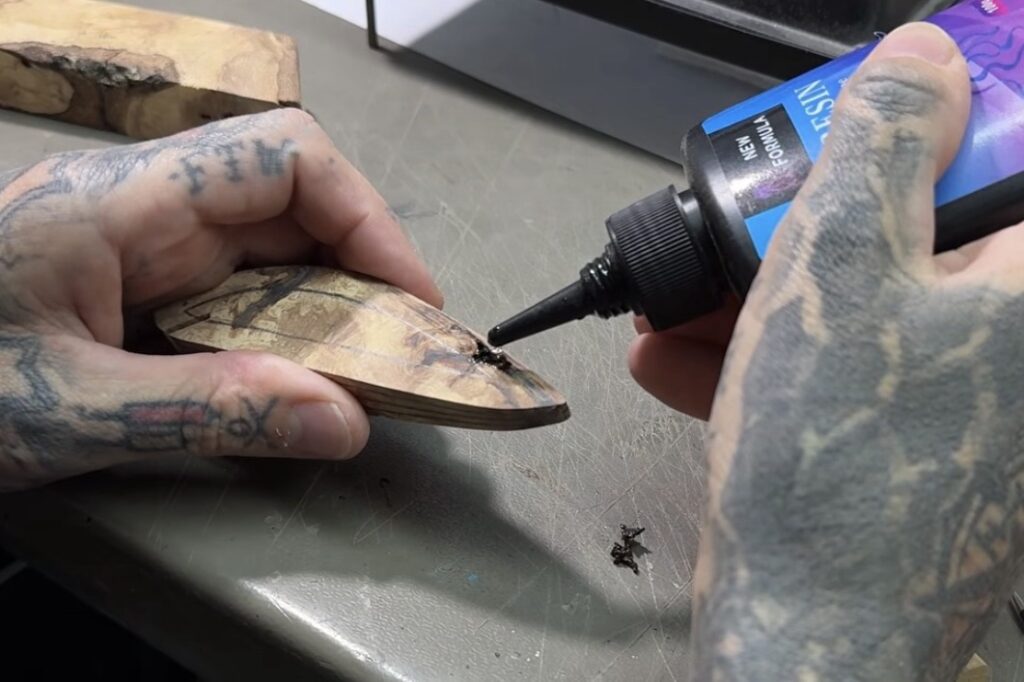
A lot of the deadfall wood I work with has holes and voids that need to be filled and since I’m not painting these lures I use UV resin.
I like being able to see the holes and voids in the finished lure under the glossy resin. I feel like it adds a lot of character.
Carving out Chamfers
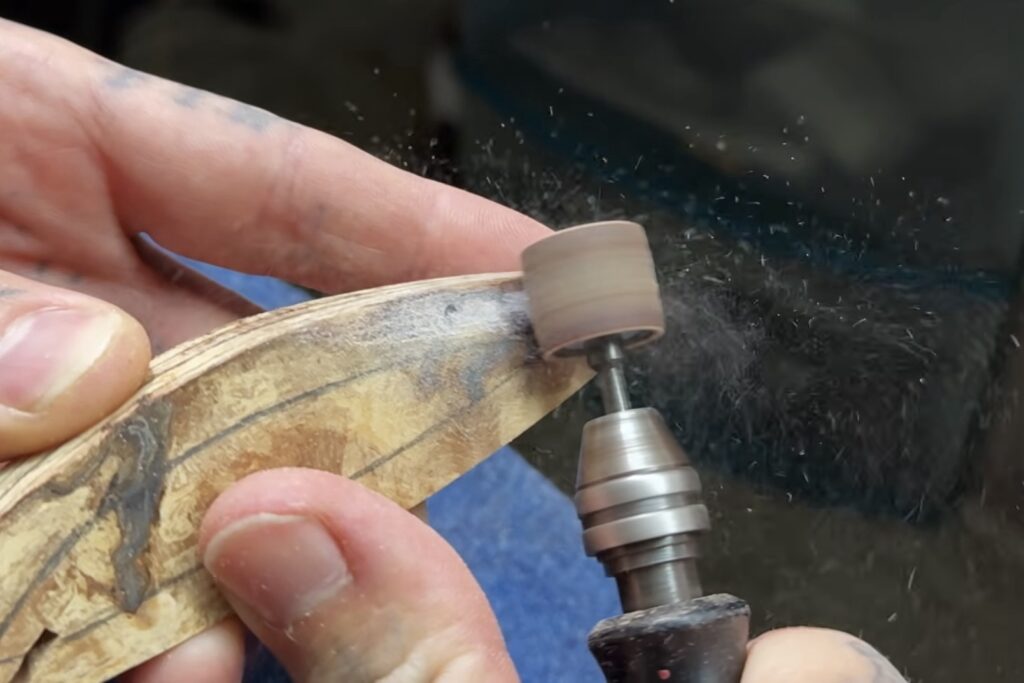
After drawing on the chamfer lines I use a dermal tool with a sanding drum to carve down the chamfers.
Sanding the Chamfers Smooth
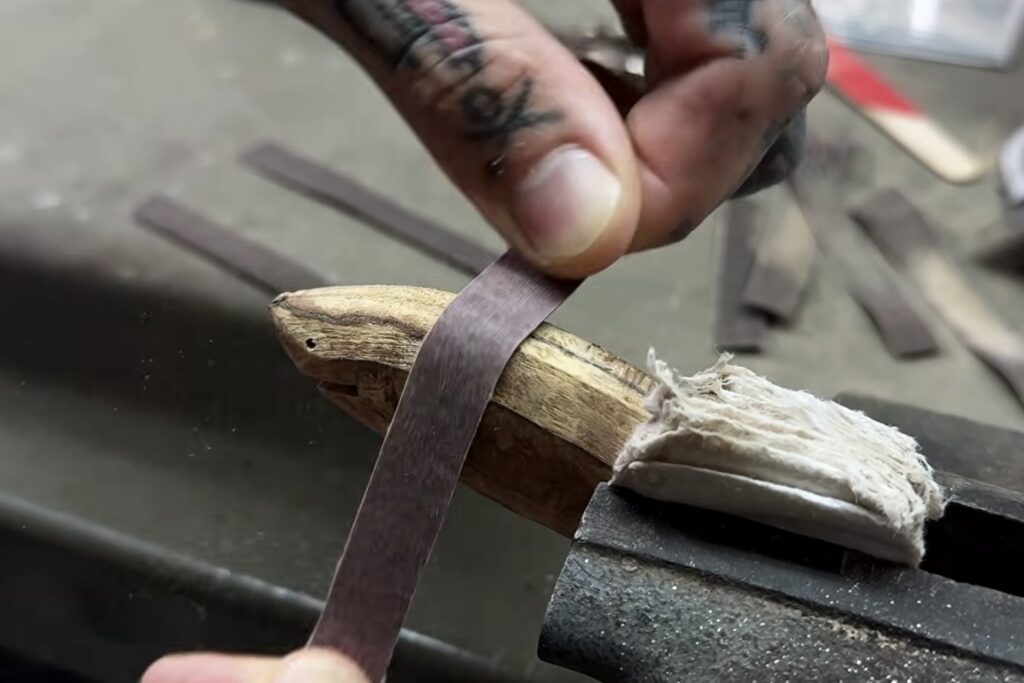
I have a small bench vice I clamp the lure in and using thin strips of sandpaper I begin rounding off the chamfers and smoothing out any edges or lumps.
Drilling the Eye holes
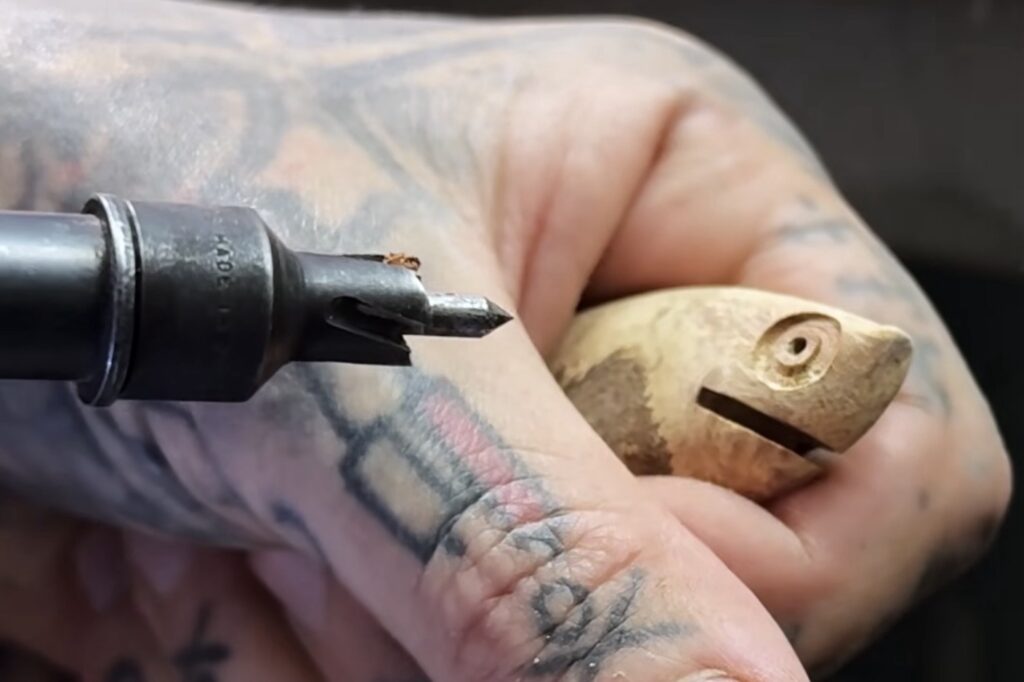
There are a few different ways to drill the eye sockets, but the most common method is using Forstner bits. I’ve used them plenty of times myself, but lately I’ve been using a spot weld cutter instead.
With certain types of wood, I find that a spot weld cutter gives me a cleaner, more controlled cut. The downside is that it leaves a small center piece in the eye socket that has to be removed afterward.
After drilling the eye sockets, you’ll need to fill the pilot hole you made earlier. This helps prevent a bubble in the clear coat from forming around the eyes later on.
Sealing the wood
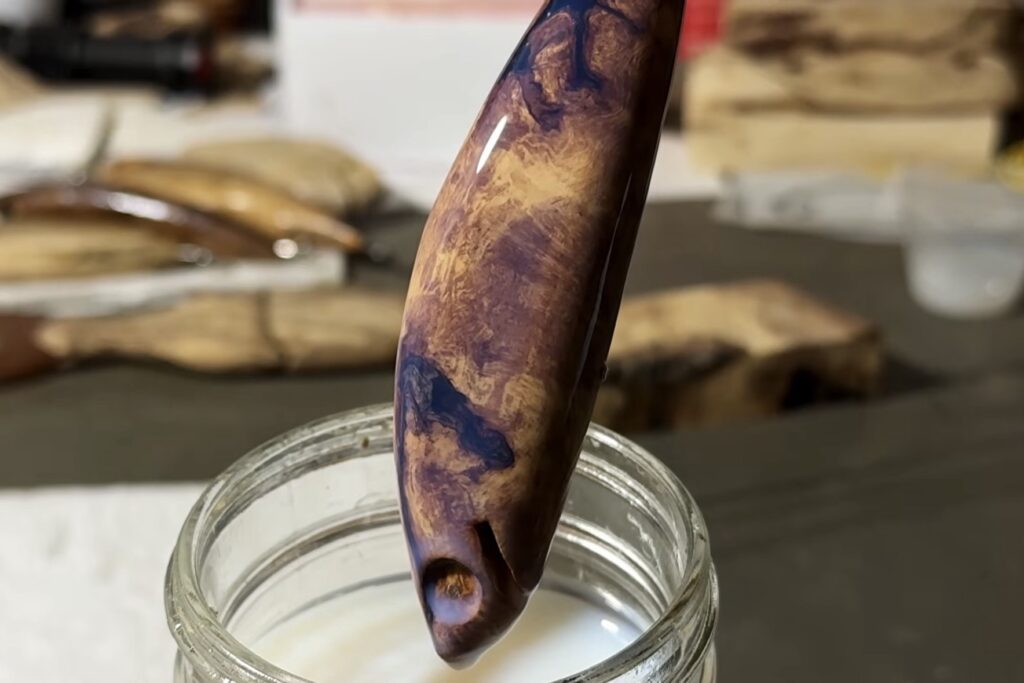
There’s a ton of different options out there for sealing wood lures, but what I use is Polycrylic. I like it because it’s water-based, dries quickly, and is easy to work with.
I normally apply about three coats, allowing each coat to dry completely before applying the next one.
Installing the Lip
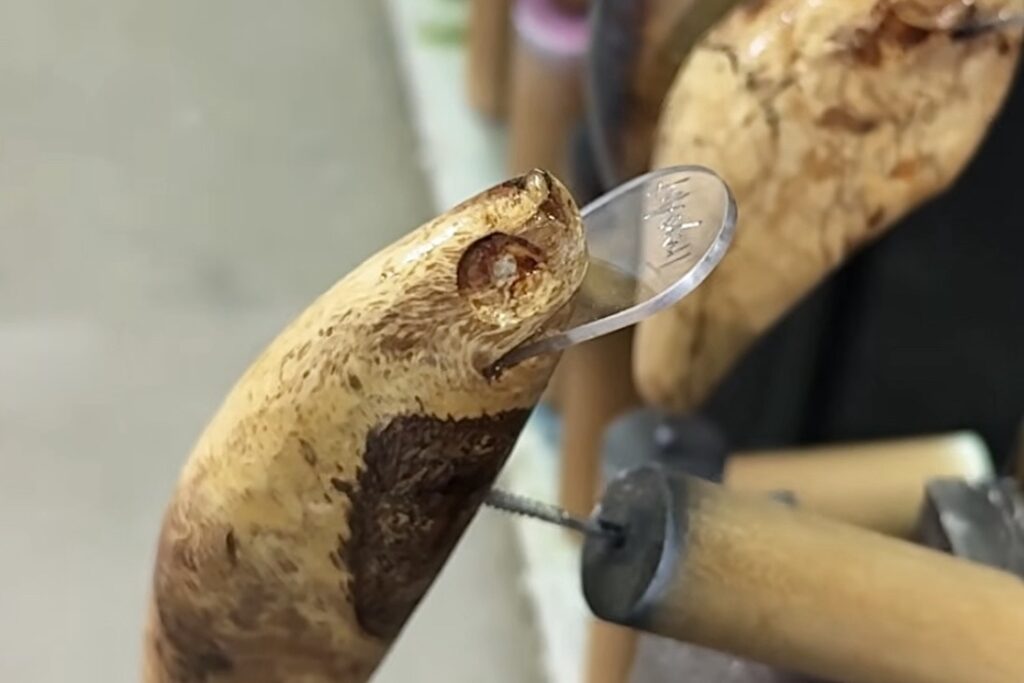
I’m not going to cover making diving lips in this article, but once the wood is sealed I like to test fit the lip and glue it in place using Devcon 2-Ton Epoxy.
Weight & Balance
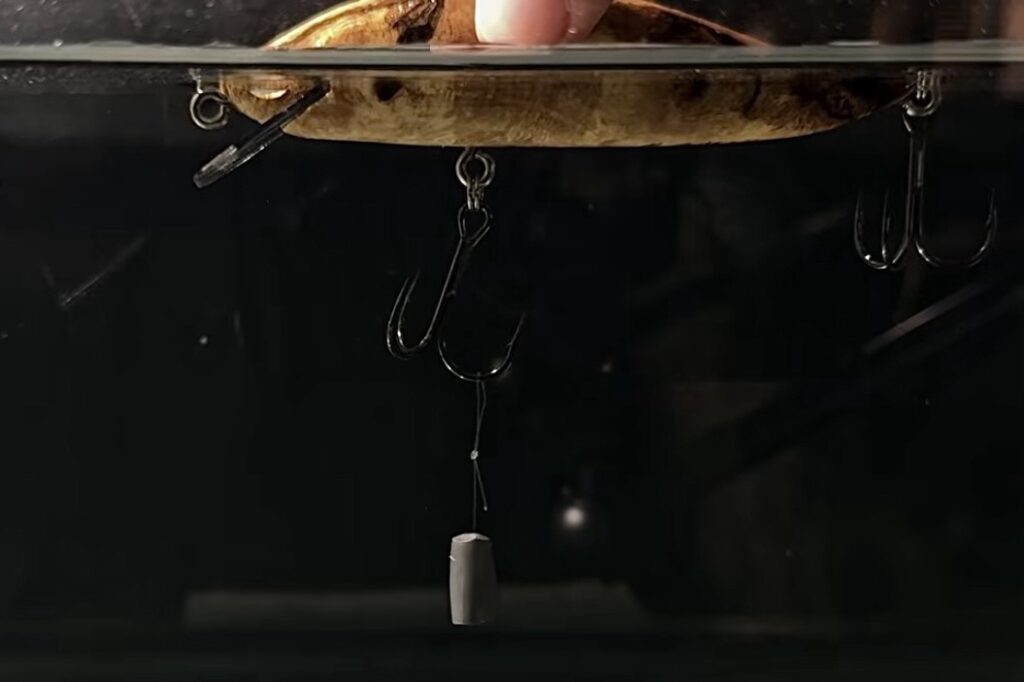
Once the lip is glued in and fully cured, it’s time to figure out the lure’s weight and balance.
Make sure all of your hardware is installed before testing. Hooks, split rings, and screw eyes all contribute to the lure’s final weight and can affect how it sits in the water.
The amount of weight you add will depend on the action you’re trying to achieve. For this build, I wanted a slow-floating crankbait, which ended up requiring about 2 grams of lead.
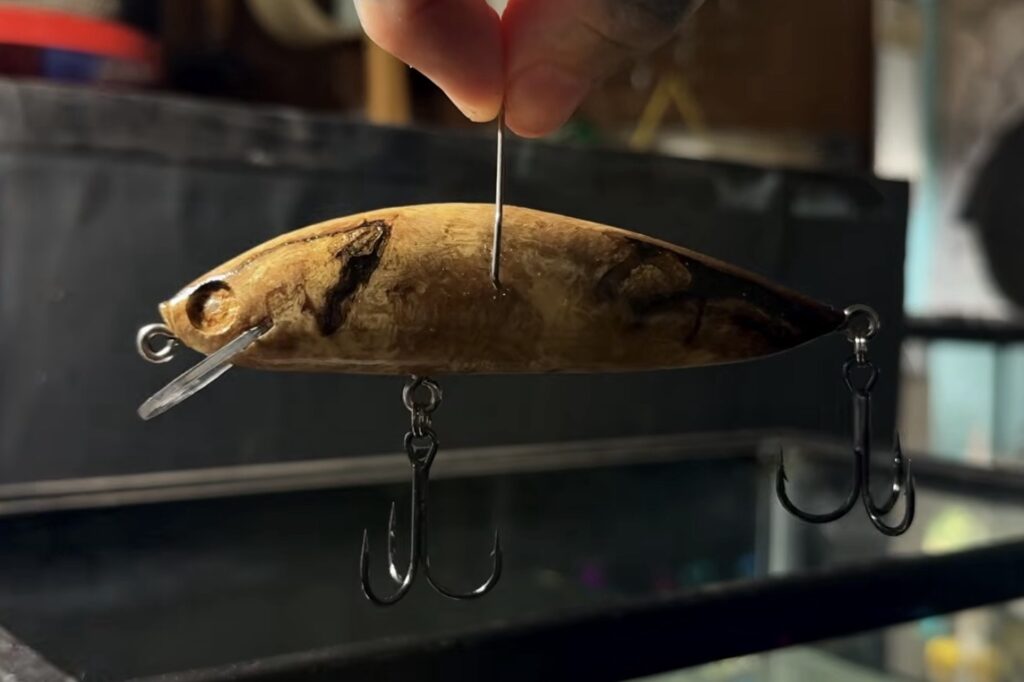
Using a bent piece of wire as a clamp on both sides of the lure, slide the wire forward and backward until the lure sits perfectly level. This point represents the lure’s center of gravity and is where you’ll generally want to place the weight.
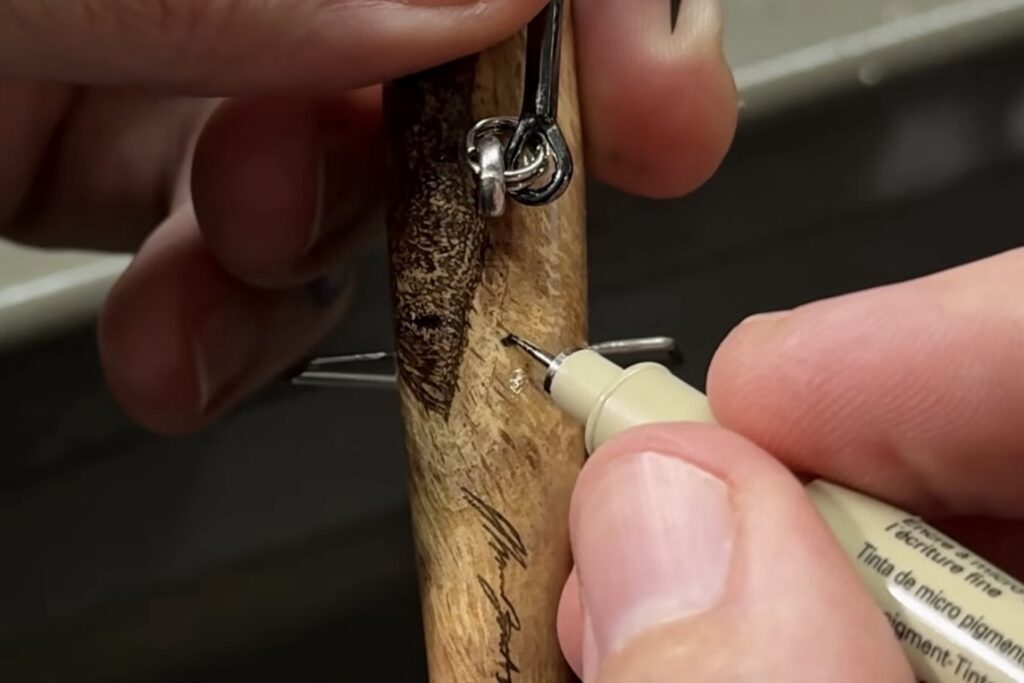
Once you’ve found the balance point, make a mark on the bottom of the lure between the two wires. This is where you’ll drill the lead pocket.
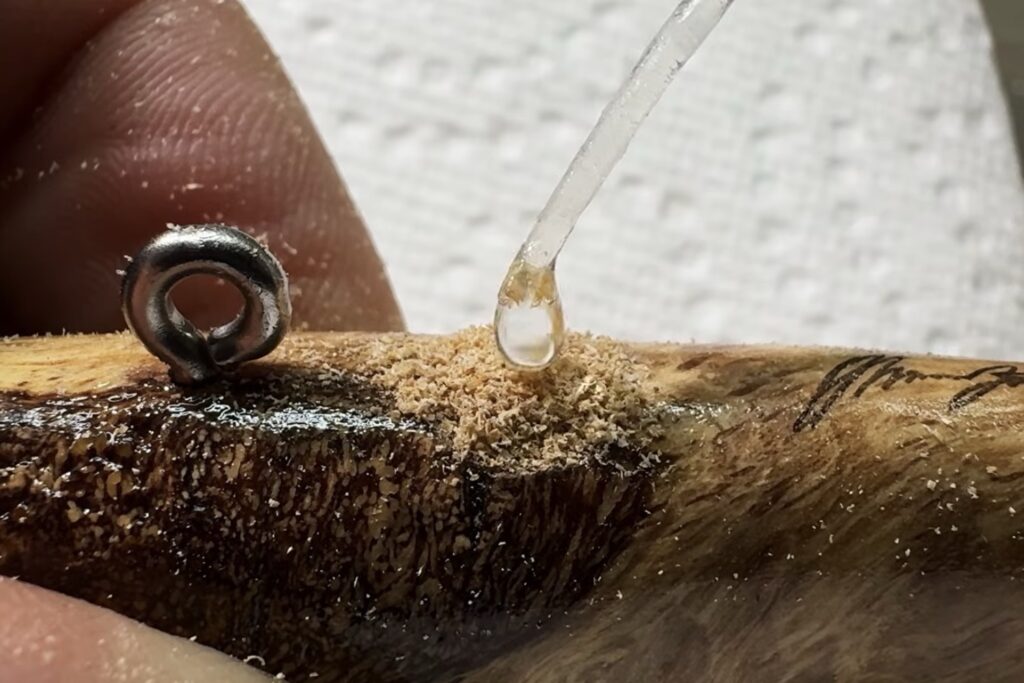
After installing the lead you can backfill the lead hole with sawdust and thin superglue. This cures almost instantly and you can then sand it smooth.
Installing the Eyes
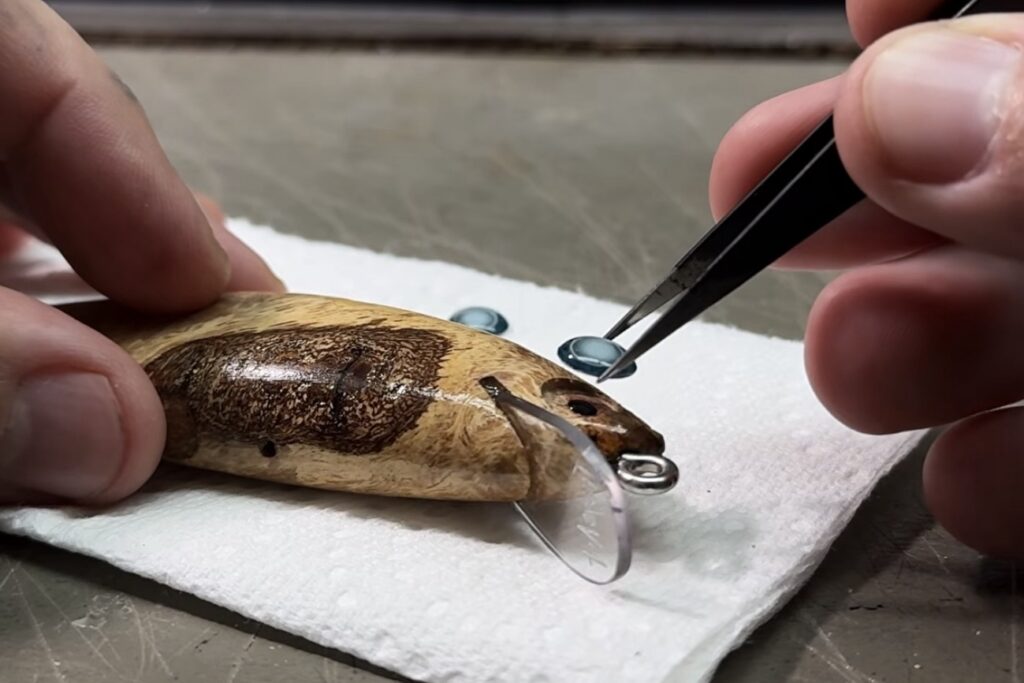
The next step is installing the eyes. I do this using medium-thick black super glue. Most lure eyes already have an adhesive backing, but the super glue helps create a stronger bond and eliminates any air pockets behind the eyes.
This extra step helps prevent bubbles in the clear coat from forming around the eyes later on.
Clear Coat
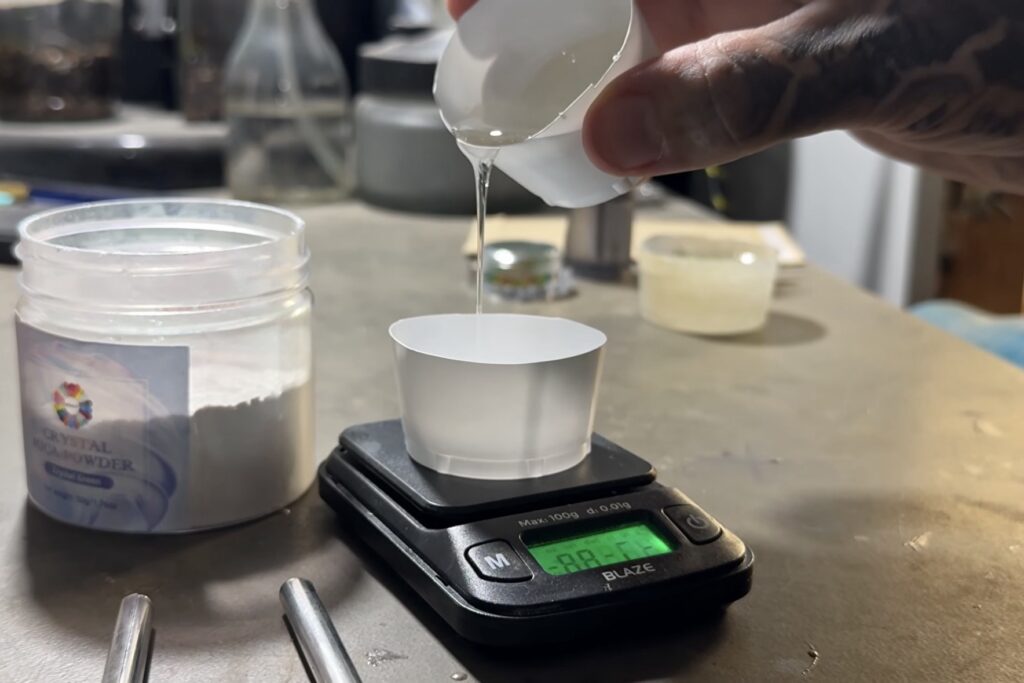
Congratulations, you’ve made it to the most crucial part of the whole build.
I use Truecoat epoxy on all of my lures, but another good option is Devcon 2-Ton Epoxy.
Both are 2-part epoxies that need to be mixed thoroughly while trying to minimize the amount of air bubbles introduced during mixing.
In my experience, this is much easier with Truecoat because it’s thinner and has a longer working time than Devcon.
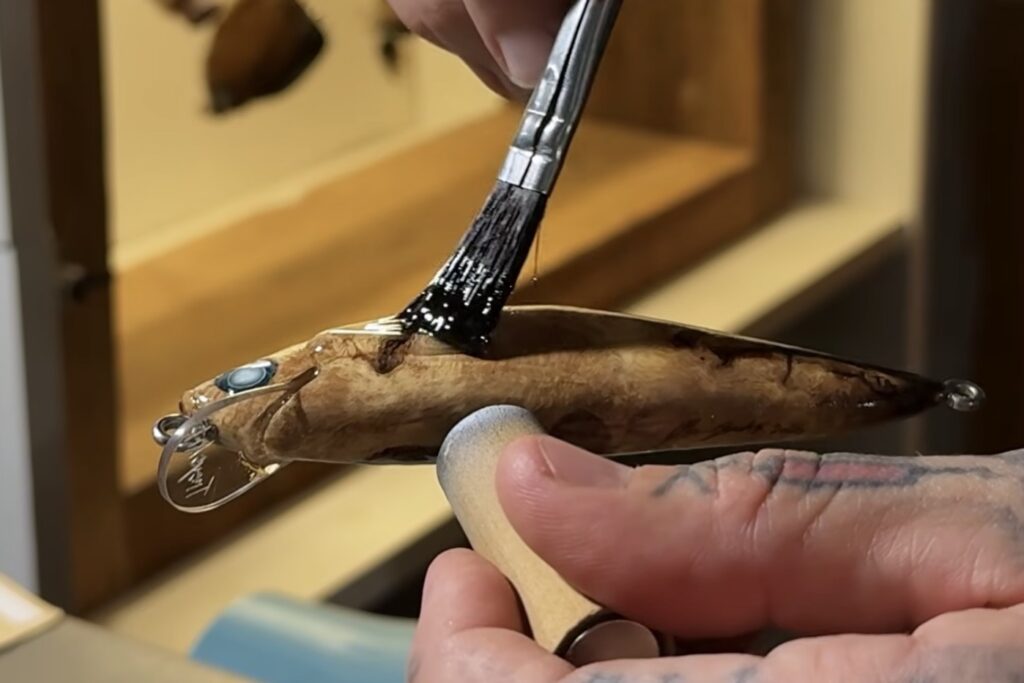
After you’ve applied the clear coat, you’ll need some sort of lure turner to keep the epoxy from sagging while it cures.
Like many other lure makers, I built my own. Maybe one day I’ll write another article showing how to make one.
With Truecoat, I leave the lure on the turner for at least 24 hours to make sure the epoxy is fully cured before handling it.
Finished Lure
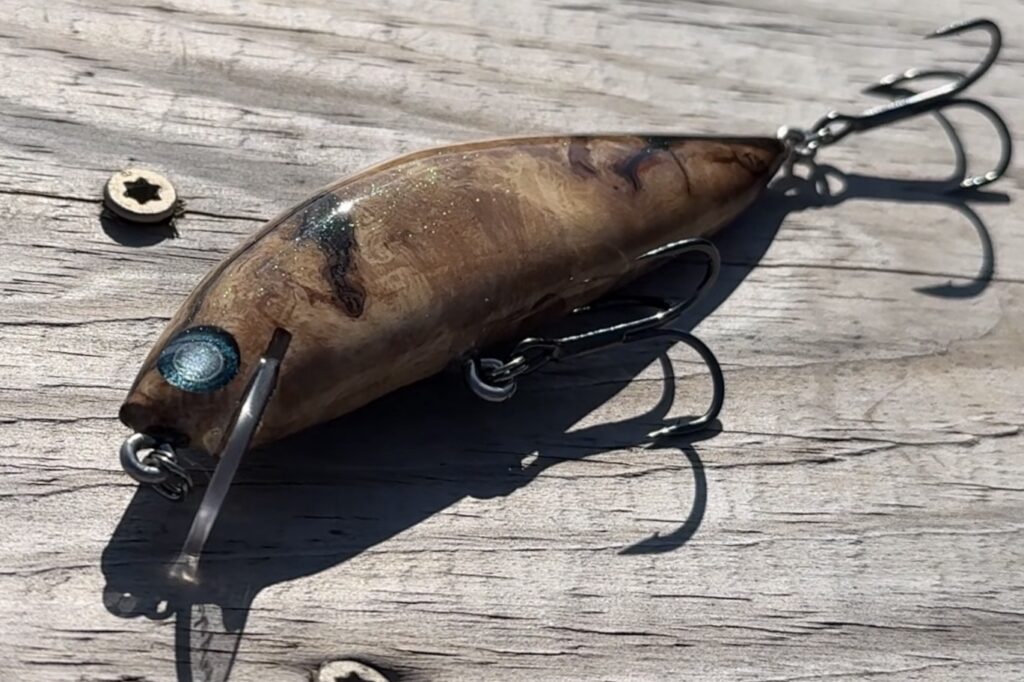
And that’s it. From a rough block of wood to a finished fishing lure. One of my favorite things about natural wood grain lures is that no two are ever exactly alike. Every piece of wood has its own character, which means every lure ends up being one of a kind.